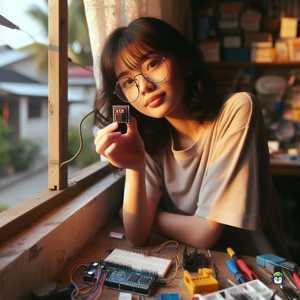
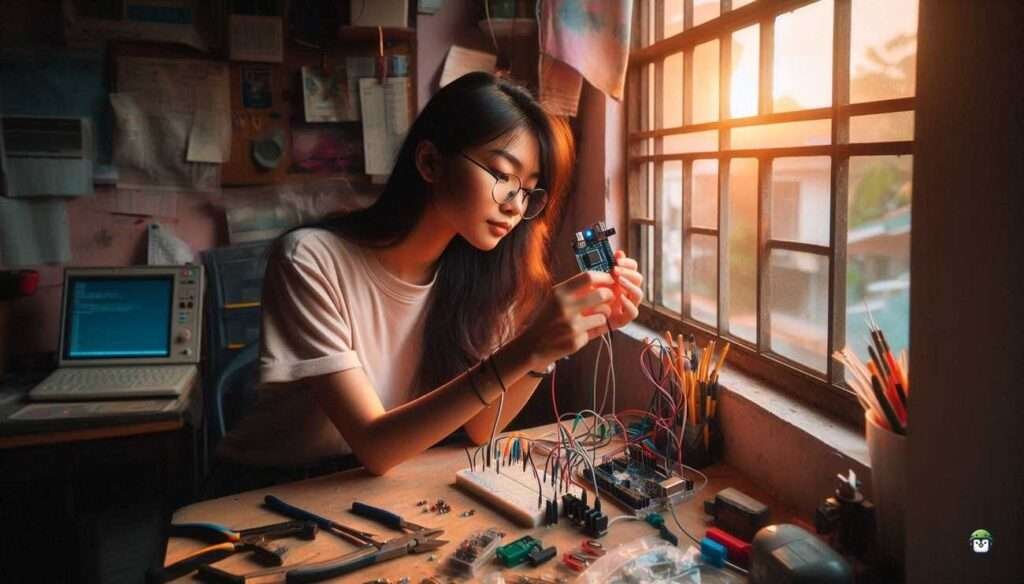
Wiring an LDR to an ESP32 sounds simple—until your sensor reads zero at noon.
It was supposed to be a 10-minute build.
Just wire an LDR to my ESP32, write a few lines of MicroPython, and boom—ambient light readings for my indoor greenhouse. But instead of smooth lux values, I got zeros. At high noon. With the LDR pointed directly at the sun.
I rechecked everything: jumper wires, GPIO pin, pull-down resistor—wait. The resistor. That tiny, overlooked piece in the voltage divider circuit. Swapping it out fixed everything, and suddenly my ESP32 was reading light with uncanny accuracy.
That’s when it hit me—most LDR tutorials either skip the wiring diagram entirely or gloss over the one thing that makes or breaks your build. As someone who champions FOSS and low-cost hardware, I believe in understanding every link in the chain. This article breaks down not just how to wire an LDR to the ESP32, but why each connection matters.
If you’re tired of tutorials that leave you guessing, this one’s for you. Read on.

What is an LDR?
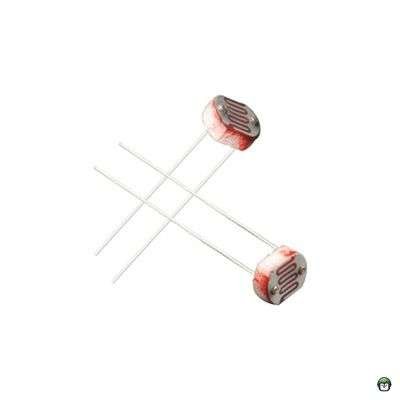
An LDR, also known as a photoresistor, is a passive component whose resistance decreases as light intensity increases. This property makes it useful for applications that require automatic brightness control, daylight sensing, and light-activated switches. Since the ESP32 lacks built-in analog pins like the Arduino, we’ll use its ADC (Analog-to-Digital Converter) to read the LDR’s output.
· · ─ ·𖥸· ─ · ·
Wiring an LDR to ESP32
To connect an LDR to the ESP32, we’ll use a simple voltage divider circuit. This setup allows the ESP32 to measure varying voltages based on light intensity.
Components Needed:
- ESP32 development board
- LDR (photoresistor)
- 10kΩ resistor
- Breadboard and jumper wires
Circuit Diagram:
- Connect one end of the LDR to 3.3V on the ESP32.
- Connect the other end of the LDR to one leg of a 10kΩ resistor.
- Connect the junction between the LDR and the resistor to GPIO 34 (or any ADC-compatible pin) on the ESP32.
- Connect the other end of the resistor to GND.
This voltage divider will output a voltage that varies with light intensity, which the ESP32 can read using its ADC.
· · ─ ·𖥸· ─ · ·
Reading LDR Values in MicroPython
To read the LDR’s output, we’ll write a simple MicroPython script using the ADC module.
MicroPython Code:
from machine import ADC, Pin
import time

# Configure ADC on GPIO 34
ldr = ADC(Pin(34))
ldr.atten(ADC.ATTN_11DB)  # Configure for full range (0-3.3V)

while True:
    light_value = ldr.read()  # Read ADC value (0-4095)
    print("LDR Value:", light_value)
    time.sleep(1)
Explanation of the Code:
- We initialize the ADC on GPIO 34.
- The attenuation is set to 11dB, allowing a full range of 0-3.3V.
- The script continuously reads the LDR value and prints it every second.
· · ─ ·𖥸· ─ · ·
Applications of LDR with ESP32
Once you’ve successfully connected and read LDR values, you can use this setup in various projects:
- Automatic Night Lights – Turn LEDs on when it gets dark.
- Smart Blinds – Adjust window blinds based on sunlight.
- Light Data Logging – Monitor and analyze light levels over time.
· · ─ ·𖥸· ─ · ·
Open Hardware, Accurate Light
Wiring an LDR to an ESP32 isn’t just about matching wires to pins—it’s about understanding how voltage dividers, analog-to-digital conversion, and resistor values all work together. And once you get that right, your ESP32 becomes a powerful, precise light sensor capable of triggering anything from smart blinds to garden lights.
This is what makes open hardware so exciting: it invites us to tinker, to fail forward, and to build smarter with every experiment.
Want more FOSS-powered sensor builds and practical microcontroller how-tos?
Subscribe to the DevDigest newsletter and get real-world hacks, circuit saves, and breadboard wins delivered straight to your inbox.
Let’s build better—one bugfix at a time.
Like what you’re reading?
Help keep DevDigest
free and caffeine-powered
—buy me a coffee on Ko-fi.
Leave a Reply