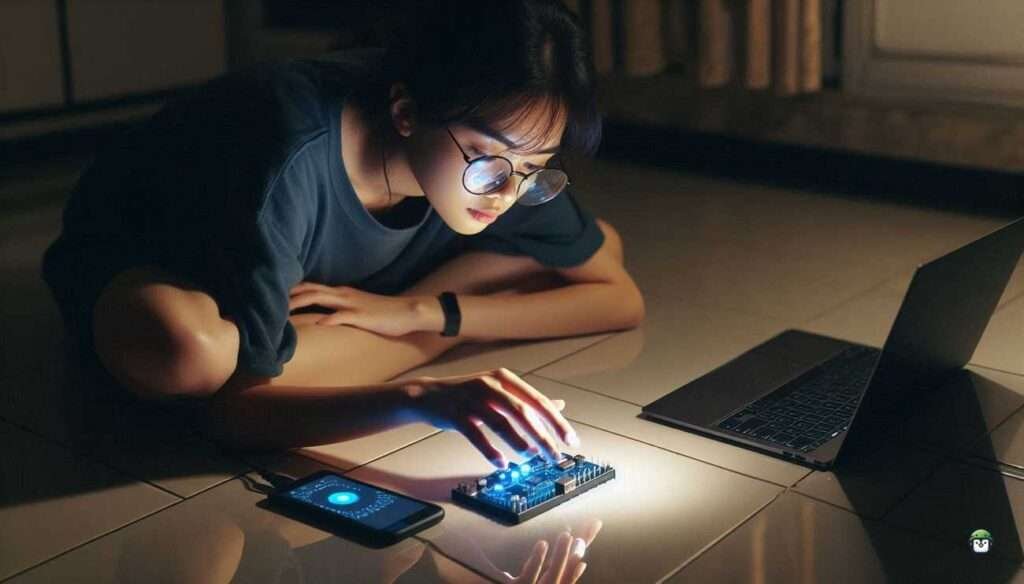
Setting up touch sensors taught me more about grounding than any textbook ever could.
I was prototyping a no-button control panel using ESP32 and touch sensors—aiming for elegance, minimalism, and that “just tap and it works” experience. Everything looked fine in code. My GPIO pins were set. Thresholds adjusted. Yet the sensor barely responded… unless I stood barefoot on tile holding a USB cable like a divining rod. That’s when I learned: touch sensors are less about “touch” and more about electrical grounding, signal stability, and environment.
In true FOSS fashion, I ditched the sketchy YouTube tutorials and dug into the docs. What followed was a lesson in subtlety: proper grounding, pin selection, and threshold tuning turned a flaky interface into a rock-solid input method.
In this guide, I’ll show you exactly how to implement ESP32 touch sensors—from setup to real-world quirks—without rage-quitting your breadboard.
Let’s turn confusion into control, one tap at a time.
Related:
How Touch Sensors Work
Touch sensors operate on the principle of capacitance. When a conductive object, such as a human finger, comes near the sensor, it causes a change in capacitance. This change is detected and processed as an input. The ESP32 microcontroller comes with built-in touch-sensitive pins that simplify the integration of touch sensors into your projects. These pins can detect even subtle capacitance changes, making them ideal for creating reliable touch-based systems.
Applications of Touch Sensors
- Smart Home Devices: Replace traditional mechanical switches with touch-sensitive controls.
- Wearable Technology: Use touch sensors for intuitive user interfaces.
- Interactive Displays: Enable touch input for kiosks or other interactive systems.
- Robotics: Incorporate touch sensors for proximity detection and control.
- DIY Projects: Add touch-based controls to custom electronics projects.
Materials Needed
To follow this tutorial, you’ll need:
- ESP32 microcontroller
- USB cable for programming
- Touch-sensitive surface (e.g., conductive material or a pre-built touch sensor)
- MicroPython firmware installed on the ESP32
- A computer with Thonny IDE or any MicroPython-compatible IDE
Step-by-Step Integration
1. Set Up Your ESP32
- Install MicroPython on your ESP32 if it’s not already done. You can follow this guide for installation instructions.
- Open the Thonny IDE and ensure it is configured to connect to your ESP32.
2. Connect the Touch Sensor
- Identify one of the touch-sensitive pins on the ESP32. Common touch pins include T0 (GPIO4), T1 (GPIO0), T2 (GPIO2), and others. Check the ESP32 datasheet for a complete list.
- Connect your touch-sensitive surface or external touch sensor to one of these pins. No additional pull-up or pull-down resistors are required, as the ESP32 handles this internally.
3. Write the Code
Below is a simple MicroPython script to detect touch input:
from machine import TouchPad, Pin
import time

# Initialize touch pin (T0 is GPIO4)
touch = TouchPad(Pin(4))

# Set threshold for touch detection
threshold = 300

print("Touch sensor ready. Touch GPIO4 to test.")

while True:
    touch_value = touch.read()  # Read touch sensor value
    print("Touch Value:", touch_value)

    if touch_value < threshold:
        print("Touch detected!")

    time.sleep(0.2)
4. Adjust Sensitivity
The threshold value determines the sensitivity of the touch sensor. Lower the value for more sensitivity or increase it to reduce sensitivity. Experiment with different values based on your specific setup and environment.
5. Test the Setup
- Upload the code to the ESP32 using the Thonny IDE.
- Open the REPL (Read-Evaluate-Print Loop) console to monitor the output.
- Touch the sensor or connected surface and observe the printed values. When the touch is detected, the output will indicate it.
· · ─ ·𖥸· ─ · ·
Expanding the Project
Once you’ve successfully detected touch, you can expand your project with additional functionality:
- Control Outputs: Use the touch sensor to toggle LEDs, buzzers, or other devices.
- Touch Gestures: Program specific actions for single taps, double taps, or long presses.
- Networking: Combine touch input with the ESP32’s Wi-Fi capabilities to send data to a server or control IoT devices remotely.
- Multiple Sensors: Integrate multiple touch sensors for more complex applications, such as touch-sensitive keyboards.
· · ─ ·𖥸· ─ · ·
Conclusion: Touch Sensors Are Simpler—Once You Stop Fighting Physics
Why ESP32 Touch Inputs Are Worth the Effort
Capacitive touch sensors aren’t just cool—they’re practical, affordable, and surprisingly robust when implemented correctly. Yes, they’ll make you question everything you know about floating pins and voltage noise. But once you dial them in, you gain sleek inputs with no moving parts and a deeper understanding of signal behavior in real-world circuits.
That’s what makes working in open-source so rewarding: the debugging is part of the learning, and the solution is always shareable.
If this walkthrough saved you hours of head-scratching—or helped you impress a workshop class with a paper-thin control panel—don’t stop here.
👉 Subscribe to the newsletter for more hands-on FOSS tutorials, ESP32 experiments, and stories from the field:
https://www.samgalope.dev/newsletter/
Let’s keep making tech feel like magic—and explain how the trick works afterward.
Like what you’re reading?
Help keep DevDigest
free and caffeine-powered
—buy me a coffee on Ko-fi.


Leave a Reply